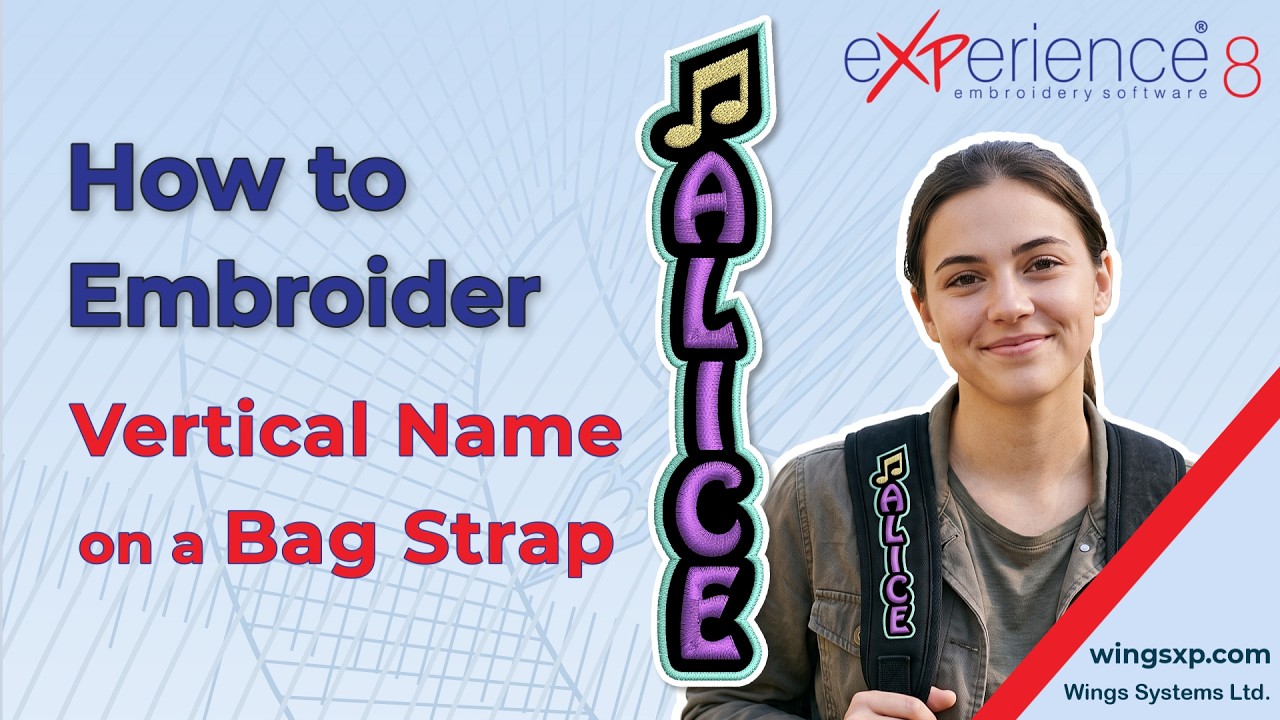
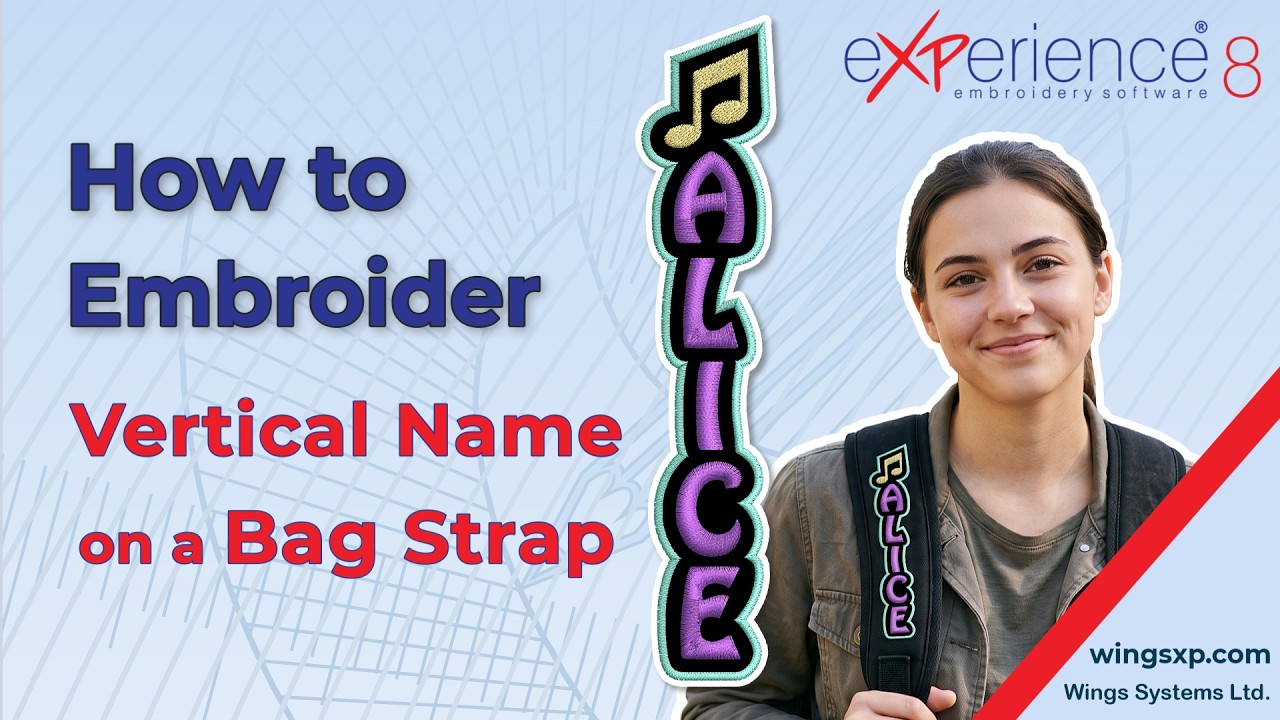
How to Digitize and Embroider Vertical Text on a Bag Strap Using a Belt Hoop
Embroidering on long, narrow items like backpack straps, belts, or pet collars is one of those jobs that looks simple until you actually try to hoop the material. Standard hoops aren’t built to grip a 40 mm strap without lots of stabilizer and floating tricks, and if the strap shifts by even two millimeters, your text ends up crooked.
Recently, we put together a project decorating a backpack strap with a vertical name design, a music note, and a satin border. To hold the strap flat, we used the SEWTECH Belt Embroidery Hoop, which uses rigid metal clamp bars instead of traditional inner and outer rings. To digitize the design and make sure the needle stayed safely inside that narrow strip, we used eXPerience embroidery software.
If you want to recreate this exact bag strap design—or set up your workspace for any strap or belt project—here is how the whole process comes together, from setting up the custom hoop in the software to clamping the strap on the machine.
Adding the Belt Hoop to Your Embroidery Software
When you buy a third-party specialty hoop like the SEWTECH Belt Hoop, your digitizing software won’t automatically know its dimensions. Digitizing “blind” inside a standard hoop template is risky on narrow hoops because the metal clamps sit very close to the stitch field. Putting the actual hoop measurements into the software lets you see your exact boundaries on screen.
To add the hoop in eXPerience digitizing software, start on the Welcome screen. If you are on a Windows PC, open the Tools menu and select Options. If you are working on macOS, go to the eXPerience menu and select Preferences.
In the dialog box that opens, switch to the Custom Hoops tab. This is where you manage all non-standard hoops. Click Add to define a new one:
- Type a recognizable name for the hoop so you can find it later.
- Select your embroidery machine’s brand and model from the list.
- Choose the Rectangular hoop shape.
- Set the useful stitch area to a Width of 280 mm and a Height of 65 mm.
Click Create, and then close and restart the software. The restart is necessary so eXPerience can load the new hoop geometry into your machine library.
Rotating the Hoop and Mapping the Strap Width
Once you relaunch the software and click Create New, you need to load the hoop you just built. Click the Machine icon on the Standard toolbar, select Change, pick your machine, and scroll down the hoop list until you see your new custom belt hoop. Click it to place it in your workspace.
By default, the 280 mm width sits horizontally. Because we are embroidering vertical text down the length of a backpack strap, working sideways on the screen feels unnatural. You can rotate the hoop in the workspace for a more accurate preview. Go to the Tool Options bar, type your rotation value into the rotation field, and press Enter. Keep in mind that the software rotates the hoop counterclockwise, so a 90-degree or 270-degree turn will stand it upright.
Even though the hoop gives you 65 mm of width, the backpack strap itself is narrower. Measuring the actual strap is crucial here. Ours measured 40 mm across. Instead of guessing where the edges of the strap sit inside the hoop, you can build a visual boundary using Guidelines mode.
Switch to Guidelines mode and click the Work Area option on the Tool Options bar. In the dialog box, keep the Rectangular area type selected, and enter a Width of 40 mm and a Height of 280 mm. When you click OK, you get a clear box on your screen that matches the physical strap. As long as your stitches stay inside that 40 mm guideline, they won’t fall off the edge of the webbing.
Digitizing Vertical Text That Won’t Snag
With the guide in place, we can move into the actual embroidery digitizing. Select the Text tool from the Tools toolbar and type the name you want to stitch in all capital letters. Capital letters tend to read much cleaner when stacked vertically on narrow material.
In the Text Options, we chose font XPG200 and set the size to 25 mm. To make the letters read from top to bottom rather than left to right, expand the Orientation drop-down menu, select Vertical, and choose Center Alignment.
Stacked letters can sometimes crowd each other, especially when you plan to add an outline later. Setting the V spacing to 2 opens up a bit of breathing room between each character. Once the spacing looks balanced, switch to Selection mode and set both the X and Y axes to 0 mm. This snaps the entire text block dead-center inside the hoop.
Before moving on, there is one important stitch adjustment to make. At a 25 mm letter height, standard satin columns get pretty wide. On a bag strap that gets tossed around and grabbed every day, long satin bar stitches can become loose, snag on things, cause unnecessary thread trims, and force your embroidery machine to slow down.
To prevent loose stitches, open the Embroidery Properties and change the stitch style from standard Satin to Wide Satin. Wide Satin automatically breaks up overly long satin spans with subtle split stitches, keeping the thread tight against the strap without ruining the glossy look of the lettering.
Adding a Symbol and Building an Autoborder
A plain name works, but adding a small icon at the top or bottom makes the strap look like a finished custom piece. You don’t need to draw anything from scratch for this—font symbols work great.
Go to the Tools menu and select Insert Symbol. If you scroll to the Webdings font, you will find dozens of simple vector shapes. We picked a music note, clicked Insert, and brought the crosshair cursor into the workspace. Click and drag to draw the symbol while holding down the Shift key; holding Shift locks the orientation so the symbol stays parallel to the Y-axis. Click once more to close the dialog box, then drag the music note into position right above the vertical text.
Because the symbol doesn’t need the raised puffiness of a satin column, change its embroidery type to Step (fill stitch) in the Properties rollup. This creates a flat, sturdy stitch texture that contrasts nicely with the Wide Satin letters.
To tie the text and the music note together into a single badge-style patch on the strap, we added a satin outline around the whole design using the Autoborder tool:
- Select both the vertical text and the symbol together.
- Right-click and choose Autoborder from the context menu.
- Set the position to Outside, the distance to 5 mm, and Repeat to 1.
- Check the Remove holes box so the software doesn’t try to put tiny borders inside the enclosed spaces of letters like A, B, or O.
- For the stitch type, select Satin serial with a 2 mm Width, and press OK.
Cleaning Up the Outline with Node Smoothing
Whenever you generate an automatic offset border around complex shapes—like stacked letters combined with a music note—the software calculates the exact mathematical distance around every curve and corner. Because of that complexity, the new border will usually have a lot of extra nodes. If you stitch it as-is, those clustered nodes can make the satin border look bumpy or cause the machine to stutter around tight turns.
Taking two minutes to clean up those nodes in the Node Editor makes a noticeable difference in your final stitch quality.
Start the Node Editor and click on the newly created border. You will see cusp nodes at the sharp corners and a series of curve nodes running between them. We want to refine the sections between those corner cusp nodes. When you drag a selection box around a group of nodes along one side, a Smooth Nodes option appears in the Tool Options pane.
The Smooth Level scale goes from 1 to 10. At level 1, the software barely removes any nodes; at 10, it simplifies the path aggressively. For this border, setting the Smooth Level to 6 and clicking Smooth Nodes hits the sweet spot—it strips out the clutter while keeping the wave of the border hugging the letters. Work your way around the border section by section, and don’t hesitate to delete a stray node manually or tweak a control handle if a curve looks slightly off.
Color Setup, Placement Templates, and Exporting
Even if you know which thread cones you have sitting by your machine, assigning colors in the software helps you visualize the contrast and sets the proper color stops for the machine. Click the Color Palette bar to open the Edit Color Palette dialog. You can pick from the Standard colors or use the color wheel to match your thread chart, press X to close the window, and then click each object in your workspace to apply the colors.
Before sending the file to the machine, do yourself a favor and print a 1:1 paper template. Click the Print icon on the Standard toolbar and hit Print from the preview window. When you are working with a heavy strap and metal clamps, having a physical paper crosshair to lay directly on the strap saves a lot of alignment guesswork.
To send the file to the embroidery machine, click the Machine icon on the toolbar. We used StitchPort™, which sends the design directly to the connected machine without needing to walk a USB stick across the room.
Clamping the Strap and Stitching It Out
With the software side finished, gather your materials: the SEWTECH Belt Hoop, the backpack strap, your printed placement template, and your embroidery threads.
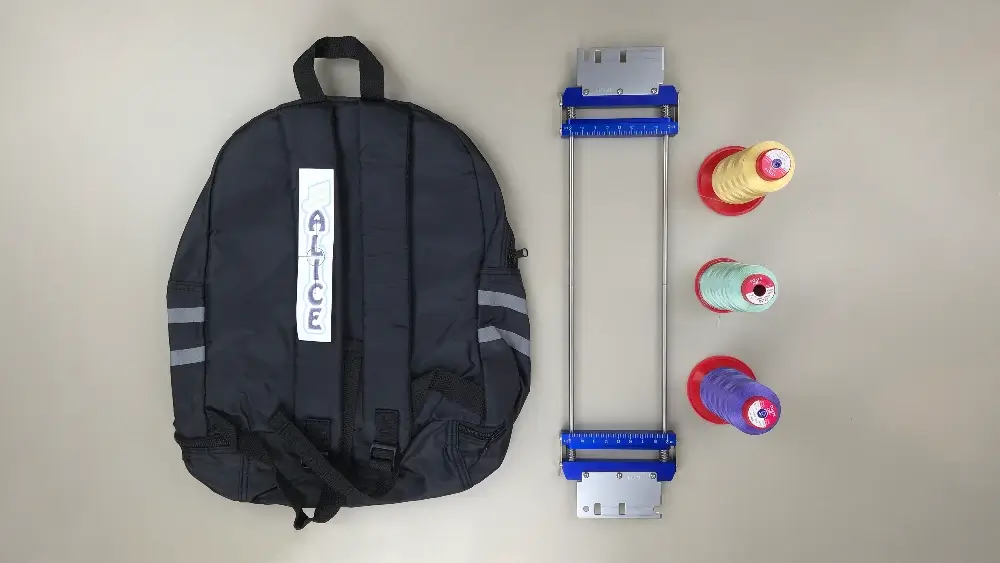
Hooping with a belt clamp hoop is much faster than wrestling with standard rings:
- Slide the bag strap between the metal clamps on one side of the hoop, making sure it sits centered.
- Push the clamp down firmly to lock that end in place.
- Pull the strap taut across the span, center it between the clamps on the opposite side, and push the second clamp down to secure it.
Because those metal clamp bars are rigid, they hold heavy webbing flat and prevent the strap from twisting or pulling inward while the needle is running at high speed.
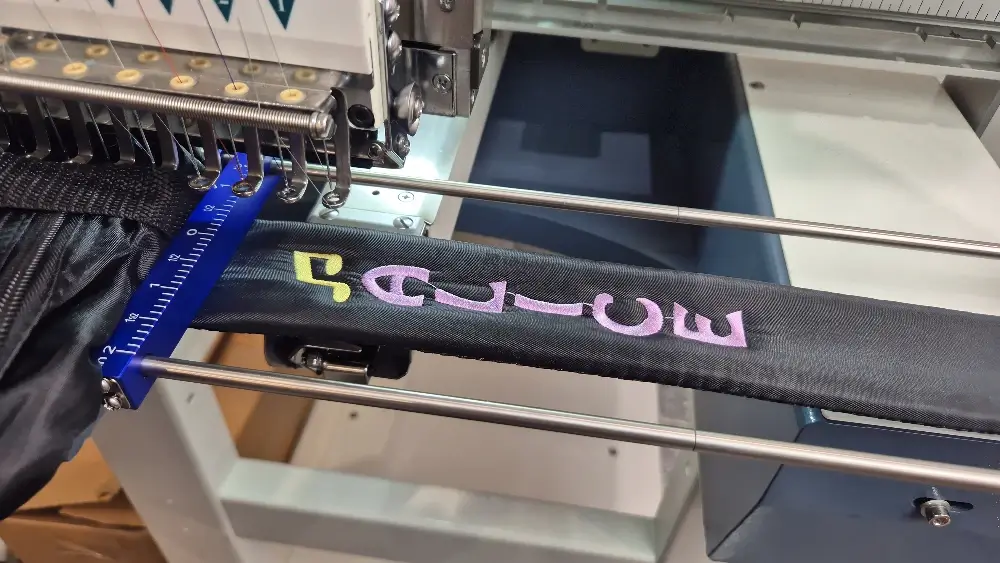
Lay your paper printout on top of the clamped strap to verify your placement and mark the center point. Attach the hoop to the machine arm and jog your needle until it aligns with the center mark of your template. Remove the paper, press start, and let the machine run through the sequence: first the Wide Satin name, then the Step-stitch music note, and finally the 2 mm Satin serial border wrapping everything together.
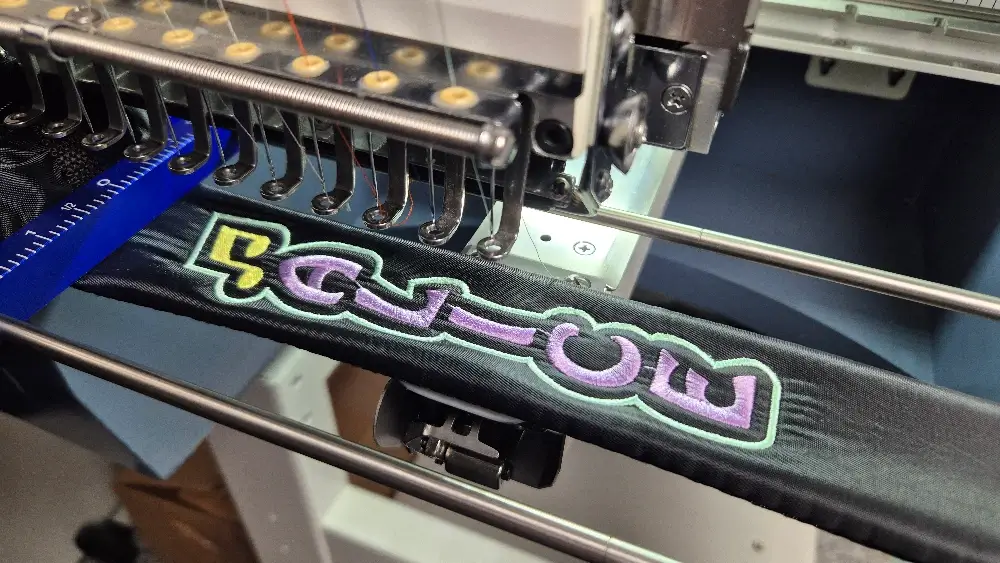
Once the border finishes, pop the metal clamps open, pull the strap out, and your custom bag strap is ready to use—straight, centered, and with zero hoop burn.
Final
Once you have your custom belt hoop saved in eXPerience and know how to set up your work area guidelines, embroidering narrow items stops being a headache. You can use this exact same workflow—combining Wide Satin lettering, simple symbols, and a smoothed Autoborder—on dog collars, guitar straps, webbing keychains, and canvas belts. If you try this setup on your own straps, let us know in the comments how it turned out, and don’t forget to subscribe to our YouTube channel so you never miss our next embroidery software tutorial.
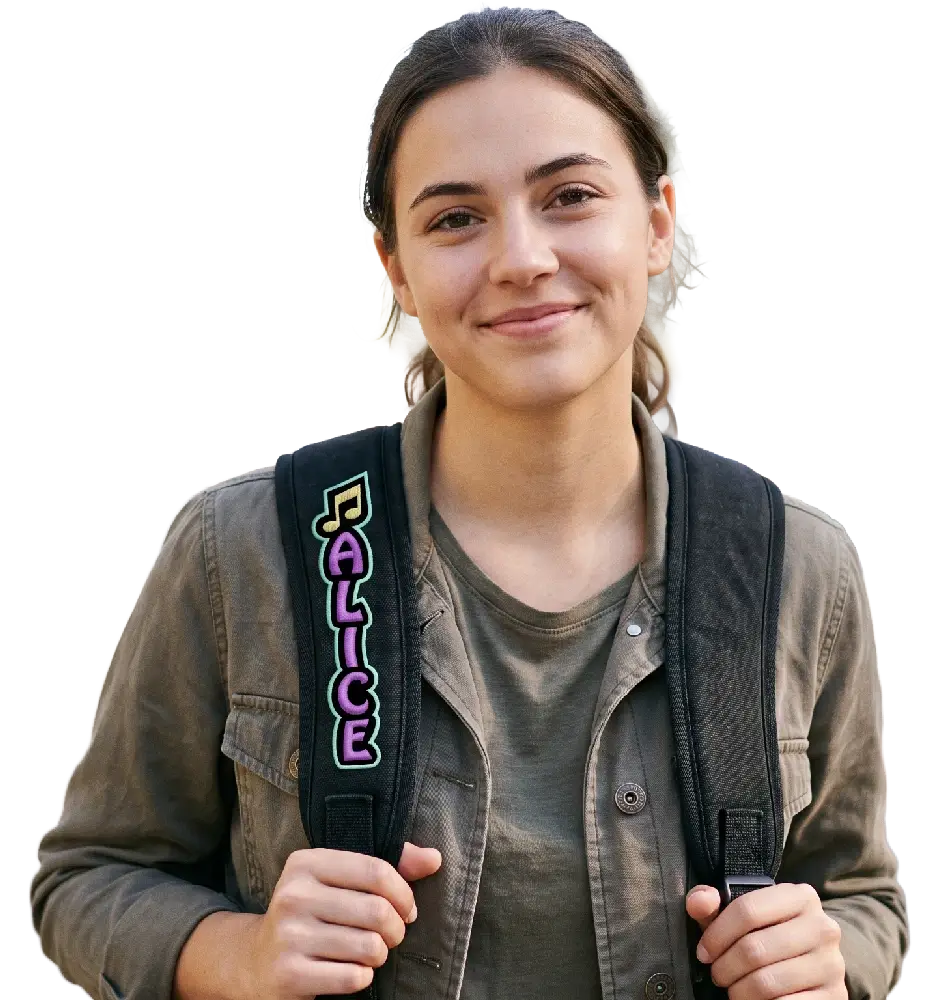
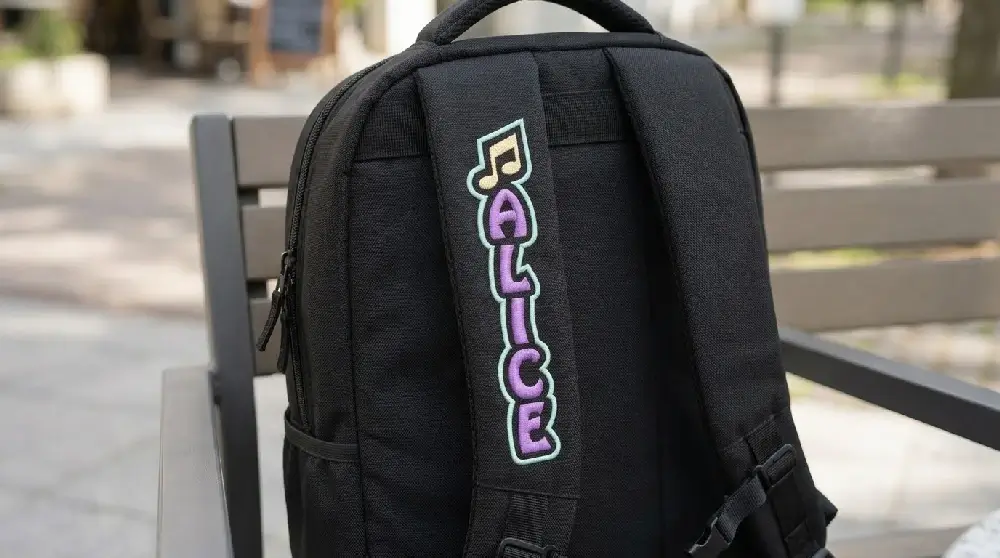
You can download the .DRAW file of the project and the image used, for free, from the link below:
- Project’s .DRAW file: How to Digitize and Embroider Vertical Text on a Bag Strap Using a Belt Hoop
