How to Add and Customize Text in eXPerience 8 embroidery software
Reading Time: 3 minutes
Introduction
Adding text to your embroidery designs can enhance their appeal and personalization. eXPerience 8 embroidery software offers a robust Text tool that allows you to add, customize, and fine-tune text to suit your design needs. This step-by-step guide will walk you through the process of using the Text tool effectively.
Step 1: Locating the Text Tool
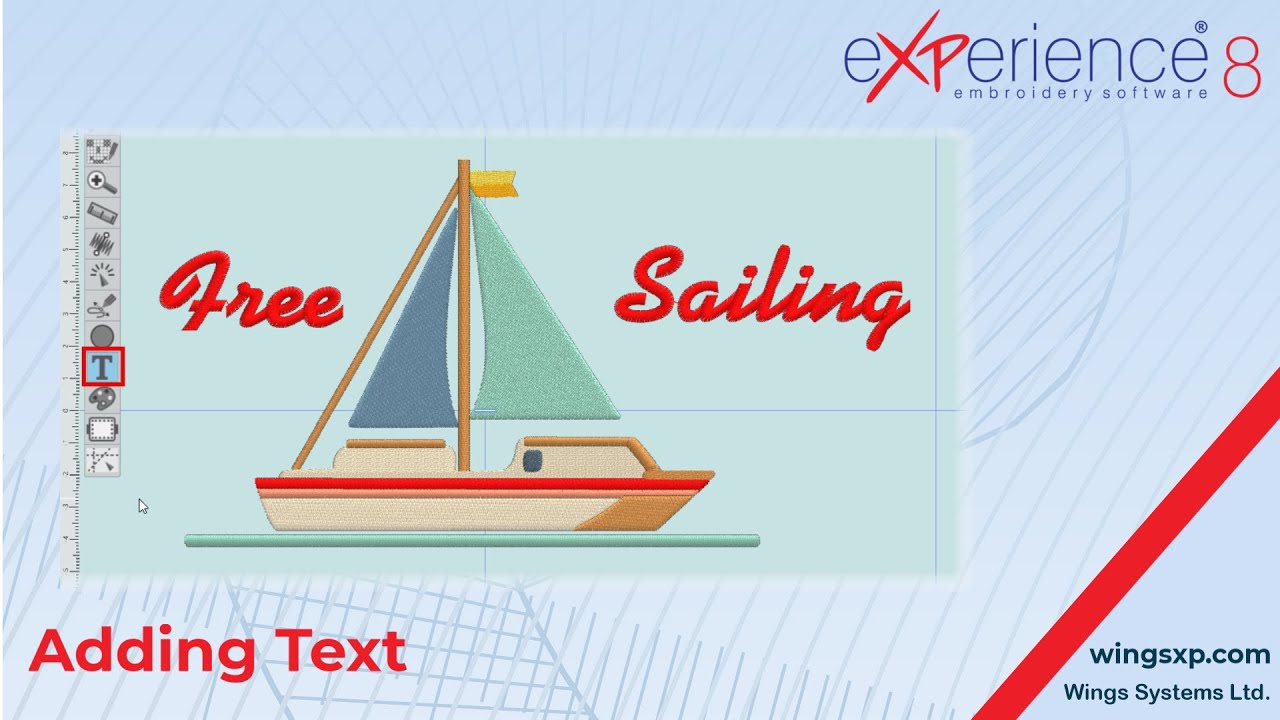
- Open eXPerience 8 and navigate to the toolbar on the left side of the application window.
- Hover over the Lettering section to reveal two options: Text and Monogramming.
- Click on the Text tool to activate it.
Step 2: Selecting Stitch Types and Colors
- Before starting the Text tool, ensure you have selected a stitch type for the text part.
- By default, the stitch type used for Text is Satin. However, if you have previously used an alternative stitch type, the last used stitch type will be applied.
- To check or change the stitch type, look at the Properties panel.
- You can also select a color for the text part by clicking on any of the available colors from the color palette.
Step 3: Defining Text Position
- Click on the design area to define the position of the text.
- A blue dash will appear, indicating the starting point of your text.
- To change the position, click again to replace the starting point.
Step 4: Typing and Adjusting Text
- In the tool options, type the text you wish to add.
- Adjust the size of the text by typing a value or using the mouse wheel to scroll and choose a value. This value represents the height of the characters.
Step 5: Choosing Fonts
- Expand the font list to choose a font.
- eXPerience 8 offers two types of fonts:
- Pre-digitized fonts (indicated by a zigzag icon)
- TrueType fonts (indicated by a TT icon)
- Pre-digitized fonts are professionally designed for high-quality lettering output, while TrueType fonts are installed on your computer.
- Use the arrow keys on your keyboard or the mouse wheel to navigate through the fonts and preview how they look in embroidery.
Step 6: Customize Text Appearance
- Set the characters to be bold or italic, noting that some options may be disabled for certain fonts.
- Adjust the distance between characters by typing a value for character spacing.
- Enable smart text to replace specific character strings with special characters (e.g., using parentheses enclosing a C to add the copyright sign).
Step 7: Transforming and Placing Text
- Use the envelope tool to transform the text.
- Change the text placement using the alternative placement options.
- Note that Smart text, Abbreviations, Envelope, and Placement options are described in separate videos for more detailed guidance.
Step 8: Finalizing and Editing Text Objects
- When you are done, click on the rectangle selection tool to finalize the text with the current properties.
- To adjust the text options again or edit the text of an existing object, select the Text tool once more.
- Adjust the options as desired and click on the selection tool to release it.
- While adjusting the text options, you can left-click elsewhere to start a new text.
- Use the mouse to move the created text by clicking and dragging when the cursor turns into a “Hand.”
- Use the red dots (placement handles) under each character to move individual characters for unique text placements.
Conclusion
Text objects in eXPerience 8 embroidery software can be transformed like any normal object, giving you the flexibility to create stunning and personalized embroidery designs. By following these steps, you can master the Text tool and enhance your embroidery projects with precision and creativity.
eXPerience Facebook Page
Happy crafting and don’t forget to share your creations with us in the
eXPerience Facebook Page!


