How to Create and Edit Ellipse Shapes in eXPerience 8
This guide will walk you through the process of adding, customizing, and editing ellipse shapes for your embroidery designs.
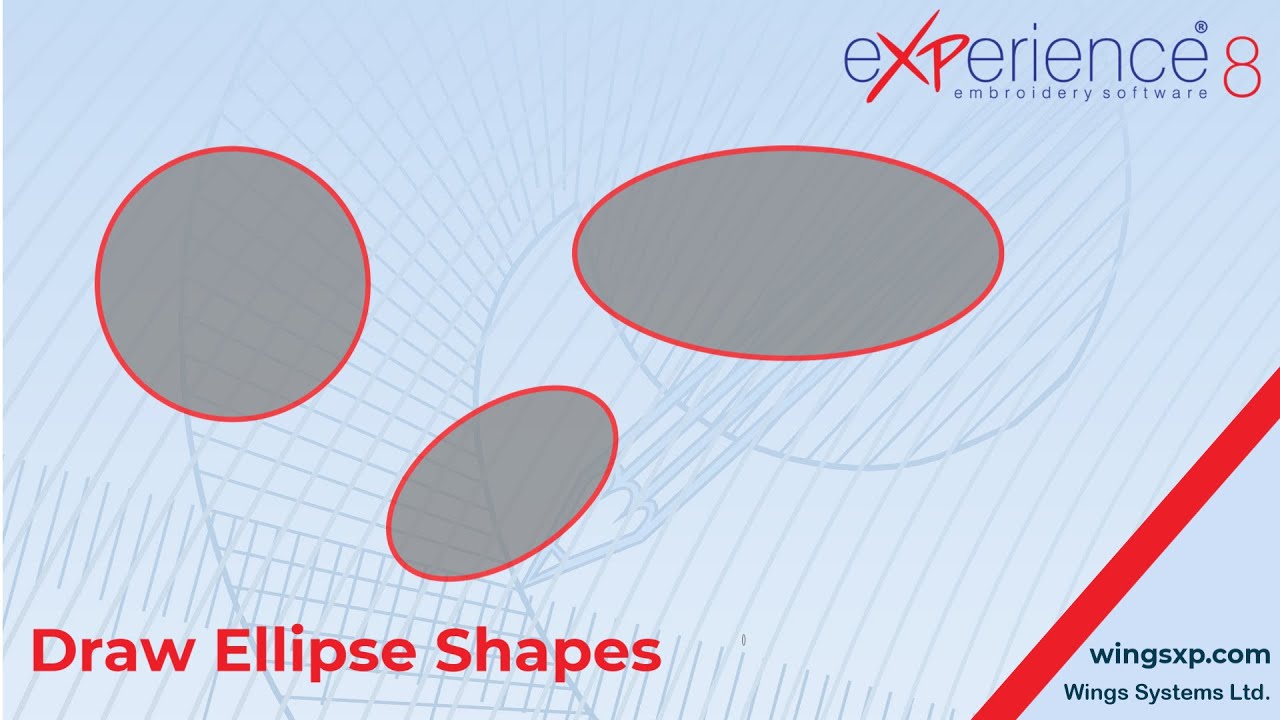
Part 1: Creating an Ellipse Shape
Follow these steps to draw a new ellipse or circle on your design canvas.
- Select the Ellipse Tool: All ready-made shapes are located in the Shapes section of the toolbar. Place your mouse cursor over the Shapes icon and click on the Ellipse Tool from the dropdown menu that appears.
- Note: The icon for the Shapes section will display the last shape tool that was used.
- Draw the Ellipse: On the design canvas, click and hold the left mouse button. Drag your cursor to define the position and dimensions of the ellipse.
- Finalize the Shape: Release the mouse button to place the ellipse. The Ellipse Tool will remain active, allowing you to immediately draw more ellipses if needed.
- Deselect the Tool: Once you are finished drawing ellipses, right-click anywhere on the canvas or click on the Rectangle Selection Tool to deactivate the Ellipse Tool.
Useful Tip: In many design programs, holding the
Shiftkey while dragging will constrain the shape to a perfect circle. Try this to create perfectly uniform circles quickly.
Part 2: Editing Ellipse Shapes
Ellipses in eXPerience 8 have two distinct editing modes.
A) Basic Editing with Dynamic Control Points
When you first create an ellipse, it behaves as a special “shape” object. You can perform basic edits using the Node Editor.
- With the ellipse selected, switch to the Node Editor.
- You will see two special control points instead of standard nodes:
- Outline Control Point: Click and drag the node on the shape’s outline to dynamically resize and reshape the ellipse, just as you did when first creating it.
- Center Control Point: Click and drag the node at the center of the shape to move its position on the canvas without changing its size.
B) Advanced Editing by Converting to Curves
If you need to make detailed modifications to the shape’s outline (e.g., indenting or bending a section), you must first convert it from a shape object into a standard vector object.
- Select the ellipse shape you wish to edit.
- Right-click on the shape and select “Convert to Curves” from the context menu (or use the equivalent command in your toolbar).
- Now, when you switch to the Node Editor, the ellipse will have standard nodes along its path. You can add, delete, and manipulate these nodes to edit the shape with full creative freedom, just like any object you would draw by hand.
Useful Tip: Converting an object to curves is a permanent action. Once converted, you will lose the original dynamic control points for quick resizing. If you need to preserve the original, consider duplicating the shape before converting it.
eXPerience Facebook Page
Happy crafting and don’t forget to share your creations with us in the
eXPerience Facebook Page!