How to use Digitizing Tools in Our Latest Software – Pilot Level
This guide provides a comprehensive walkthrough of the core digitizing tools and workflows in eXPerience 8 embroidery software. Mastering these functions is the key to transforming your creative ideas into high-quality embroidery designs efficiently.

1. Accessing the Digitizing Tools
The first step in creating any design is to locate and select the correct tool for the job.
- Step 1: Locate the “Digitize” Section All digitizing tools are conveniently grouped in the “Digitize” section of the main Tools bar.
- Step 2: Select a Tool To save space and provide a cleaner interface, the tools are located in a fly-out menu.
- Place your mouse cursor over the visible tool icon in the “Digitize” section.
- A fly-out menu will appear, showing all available digitizing tools.
- Move your cursor to the desired tool and click to activate it.
2. Understanding the Two Core Digitizing Tools
eXPerience 8 offers two primary methods for creating shapes, each suited for different purposes.
A. Outline Digitize Tool
This tool allows you to draw shapes by placing a series of points (nodes). The software then connects these nodes with either smooth curves or sharp lines, depending on how you place them.
- Best for: Creating free-flowing shapes, outlines, and complex curves. It’s ideal for drawing organic shapes or tracing artwork just as you would with a pen. You can create:
- Open curves: Lines that have a distinct start and end point.
- Branched curves: Shapes that split into multiple paths from a single object.
- Closed curves: Enclosed shapes where the end point connects back to the start point.
B. Pair-point Digitize Tool
This tool is designed for creating column-based shapes where you define the width. The way you place nodes is different and fundamental to its function.
- How it works: You must add nodes in pairs. Each pair of points defines the two opposite sides of a stitchable column. As you add more pairs, you extend the column’s length and shape.
- Best for: Creating objects with a defined width, like satin columns, borders, and other fill areas where you need precise control over both edges simultaneously. It feels very natural for creating classic Satin, Zig-Zag, and Piping stitch objects.
3. The Fundamental Digitizing Workflow
For the most efficient and predictable results, follow this professional workflow before and during the creation of a new design part.
Step 1: Select a Stitch Type FIRST
Before you place the first point of your new shape, you must tell the software what kind of object you intend to create.
- How: With a digitizing tool active (but before you click on the design area), go to the Properties bar and select a stitch type (e.g., Satin, Step, Running).
- Why this is important: The software applies properties and generates stitches based on the selected type. Choosing it first ensures the object is created correctly from the start, preventing the need to fix it later.
- Note: If you do not select a stitch type, the software will automatically use the last one you used.
Step 2: Inherit Properties from an Existing Object
This powerful feature allows you to quickly create new objects that match existing ones in your design.
- How:
- First, select an existing object on the screen that has the properties (stitch type, color, density, etc.) you want to copy.
- Then, activate a digitizing tool and create your new shape.
- Why this is a huge time-saver:
- Copies Properties: The new object will automatically have the exact same stitch type and settings as the one you selected.
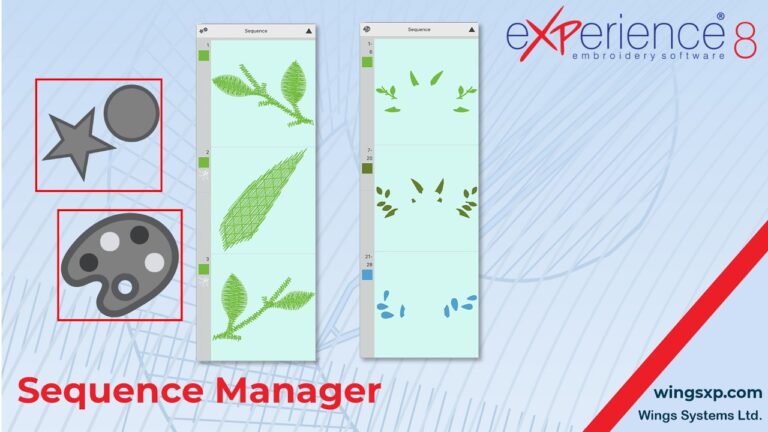
- Manages Sequence: The new object will be placed immediately after the selected one in the embroidery sequence. This creates a logical stitch-out order and minimizes unnecessary machine trims and color changes.
Step 3: Pre-select a Color with Your Keyboard
For even faster creation, you can assign a color to your new object without using your mouse.
- How: With a digitizing tool active but before placing the first point, press a number key on your keyboard.
1selects the first color in your design’s color palette.2selects the second, and so on up to9.0selects the tenth color in the palette.
- Why: This allows you to stay focused on the digitizing area without needing to move your cursor away to the color palette, keeping your workflow smooth and uninterrupted.
4. Creating Multi-Section Objects
Sometimes you need multiple, separate-looking shapes to be treated as a single object by the software.
- Why do this? When shapes are sections of the same object, the software generates connecting stitches between them. This ensures they are embroidered together without the machine stopping to trim the thread, resulting in a faster and cleaner stitch-out.
- How to Finalize a Section (but keep the tool active):
- Use a single right-click.
- OR, press
EnterorEsconce. This action finalizes the current shape (section) and immediately allows you to start drawing the next section of the same object.
- How to Finalize the Entire Object:
- Use a double right-click.
- OR, press
EnterorEsctwice. This action ends the current object completely. The digitizing tool remains active, but the next shape you create will be a new, separate object in the sequence.
- How to Release the Tool: After an object is finalized, right-click one more time, press
Enter/Esc, or click the Rectangle Selection tool to fully deactivate the digitizing tool.
5. Speed Up with Function Key (F-Key) Shortcuts
For maximum speed, use your keyboard’s Function keys to instantly activate a digitizing tool with a specific stitch type already selected.
| Shortcut | Resulting Stitch Type | Default Tool Used |
|---|---|---|
| F2 | Manual Stitches (Special Running) | Outline Digitize |
| F3 | Running | Outline Digitize |
| F4 | Satin | Pair-point Digitize |
| Shift + F4 | Satin | Outline Digitize |
| F5 | Step (Fill) | Outline Digitize * |
| F6 | Zig-Zag | Pair-point Digitize |
| Shift + F6 | Zig-Zag | Outline Digitize |
| F7 | Satin Serial | Outline Digitize |
| F8 | Piping | Pair-point Digitize |
| Shift + F8 | Piping | Outline Digitize |
Export to Sheets
*Note on Step objects (F5): After drawing the shape, you must define the stitch direction before the object is finalized.
eXPerience Facebook Page
Happy crafting and don’t forget to share your creations with us in the
eXPerience Facebook Page!