How to Select, Add, and Delete Nodes – Level Advanced
This guide explains how to manipulate nodes to reshape objects in eXPerience 8. By moving, adding, or removing nodes, you can precisely edit the shape of any design object.

Part 1: Selecting Nodes
To begin editing nodes, you must first activate the Edit Nodes tool and click on an object to select it. Once selected, the nodes of the object will become visible.
Basic Selection Methods
- Single Selection: Simply click on a node to select it. The node’s indicator will become larger to confirm it is selected.
- Range Selection (Shift): To select a sequence of nodes, hold the Shift key, click the first node, and then click the last node in the desired sequence. All nodes in between will be selected.
- Toggle Selection (Ctrl): Holding the Ctrl key while clicking nodes allows you to inverse their current status. Selected nodes will become unselected, and unselected nodes will become selected.
- Area Selection: Left-click and drag your mouse to form a rectangle around the specific nodes you wish to select. This can be combined with the Ctrl and Shift keys.
Advanced Selection (Right-Click Menu)
Right-clicking on a node provides three specific selection options:
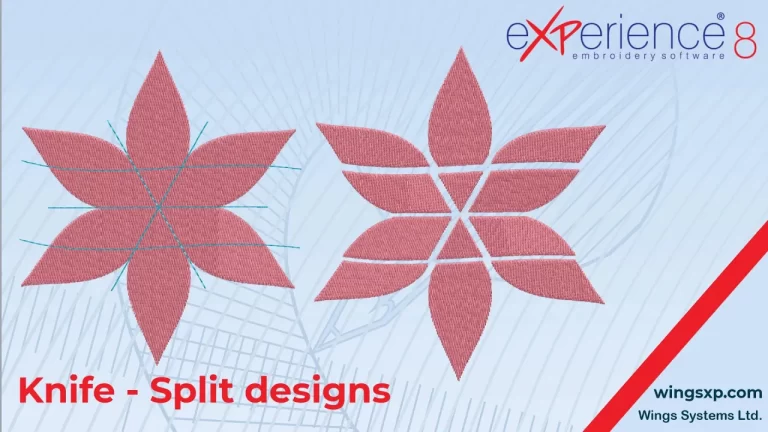
- Select Polyline: Selects all nodes belonging to a specific part of the object, such as a single petal in a flower or a specific letter in text.
- Select All: Selects every node in the object.
- Invert Selection: Selects all nodes except the ones currently selected.
Useful Tip: When a single node is selected, arrows appear that allow you to adjust the curvature of the segment. However, if you select multiple nodes at once, these curvature arrows are not available.
Part 2: Adding Nodes
Adding extra nodes is often necessary to reshape an object more easily. There are several ways to insert new nodes:
Insertion Methods
- Right-Click: Right-click on the specific point of the outline where you want the node and choose the insert option from the menu.
- Double-Click: Double-click directly on the position on the outline where you want to add a node.
- Keyboard Shortcut (+): Place your mouse cursor over the desired point on the outline and press the + (plus) key on your keyboard.
Adding Nodes to Segments
You can automatically add a node to the middle of a segment.
- Select the node preceding the segment.
- Press the + (plus) key.
- A new node is added in the middle of the segment immediately following the selected node.
Understanding Node Types
When a new node is added, it may be a smooth, auto-smooth, or cusp node, depending on the nodes before and after it.
- To change a node type: Right-click on the node and select a different type from the menu.
Part 3: Deleting Nodes
You can remove nodes to simplify the shape of an object.
- Select one or more nodes.
- Press the Delete key on your keyboard.
- Alternatively, use the delete option found in the right-click menu.
Useful Tip: Be careful when deleting nodes, as removing them will directly affect and alter the shape of your object.
eXPerience Facebook Page
Happy crafting and don’t forget to share your creations with us in the
eXPerience Facebook Page!