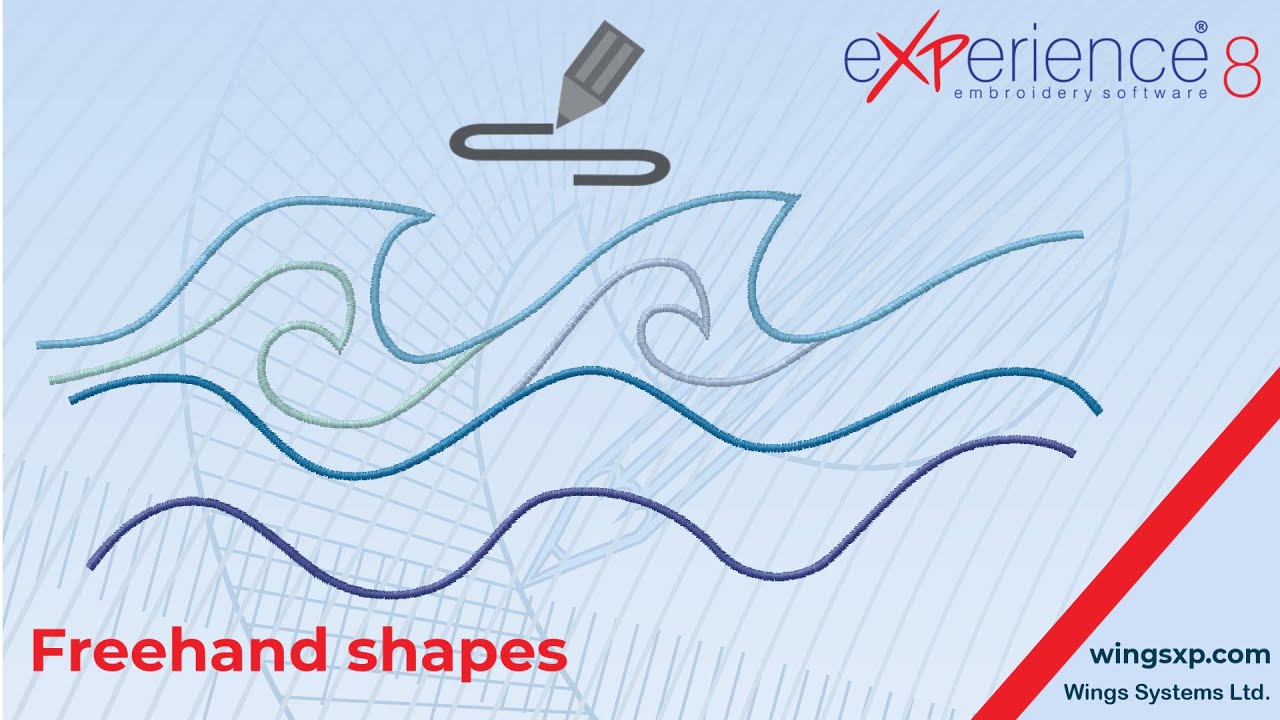
How to Use the Freehand Shapes Tool in eXPerience 8
This guide will walk you through the functionality of the Freehand shapes tool, a powerful feature for creating fluid, hand-drawn embroidery objects. You will learn how to draw basic shapes, create complex objects with multiple sections, and use advanced features for precision and control.
Locating the Freehand Shapes Tool
- Navigate to the Tools bar and find the Digitize section.
- The Freehand shapes tool icon should be visible.
- If you don’t see the icon, hover your mouse over the Digitize section to expand it and reveal all available tools. Select the Freehand shapes tool from the expanded list.
(Note: You can replace this with an actual screenshot from your software.)
Creating Your First Freehand Object
The core principle of the Freehand tool is that you can draw multiple, distinct sections that all belong to a single object until you finalize it. This ensures they have connecting stitches and are embroidered as one piece.
Step 1: Select a Stitch Type Before you begin drawing, go to the Properties bar and select the stitch type you want to apply to your object (e.g., Satin, Step, etc.).
Step 2: Drawing Freehand Sections
- With the tool active, left-click and hold the mouse button down.
- Move your mouse to draw your desired shape, just like using a pen.
- When you release the mouse button, the section you just drew will be completed, but the tool remains active.
- You can immediately start drawing another section. This new section will automatically be part of the same object as the first one.
Step 3: Finalizing the Object When you have finished drawing all the sections for your object, right-click once anywhere on the design area. This finalizes the object. You will now see that all the sections are connected and treated as a single embroidery object.
Advanced Techniques
Creating Straight Lines Instead of clicking and dragging, you can create straight lines:
- Click once to set the starting point of the line.
- Move your mouse to the desired endpoint.
- Click once more to create a straight line between the two points.
Continuing or Modifying an Existing Shape You can add to a shape you’ve already started drawing:
- Move your mouse cursor over the starting or ending node of an existing line or section.
- Useful Tip: You’ll know you’re in the right spot when the mouse cursor changes its appearance.
- From here, you can either:
- Click once to continue with a new straight line.
- Click and drag to continue with a new freehand curve.
Creating Closed Shapes and Holes
- To create a closed shape, simply draw a line or curve and make sure its endpoint meets the starting node of the shape. The software will automatically create a closed, filled object.
- To create a hole, first create a closed shape. Then, while the same object is active, draw a smaller, fully enclosed shape on top of it. The inner shape will become a hole.
Separating an Object into Parts If you decide you want the sections you drew to be separate, individual objects:
- Select the finalized object.
- Right-click on it to bring up the context menu.
- Choose the Break apart option. The connecting stitches will be removed, and each section will become its own object.
Tips for Precision and Control
Tip 1: Using Snap to Grid For more precise, geometric drawings, you can snap your points to the design grid.
- Permanent Snapping: Go to the View menu and enable Snap to Grid. The cursor will now snap to the grid for all digitizing actions until you disable it.
- Temporary Snapping: Hold down the
Altkey while drawing. The cursor will snap to the grid only for as long as you hold the key down. This is useful for quick, precise adjustments.
Tip 2: Adjusting Smoothness You can control the smoothness of the curves you draw with the Freehand tool.
- Smoothness Level (0-10): In the Properties bar, you will find a smoothness setting. A value closer to 10 will produce a very smooth curve with fewer nodes. A value closer to 0 will follow your mouse movements precisely, resulting in more nodes and a less smooth curve.
- On-the-Fly Smoothing: For an easy way to create smoother curves, hold down the
Shiftkey while you are drawing.
eXPerience Facebook Page
Happy crafting and don’t forget to share your creations with us in the
eXPerience Facebook Page!


