Step-by-Step Guide to Navigating the eXPerience 8 Embroidery Software Workspace
Reading Time: 3 minutes
This tutorial provides a step-by-step guide to understanding and navigating the key components of the eXPerience 8 embroidery software workspace. Follow these steps to familiarize yourself with the interface and tools to enhance your design workflow.
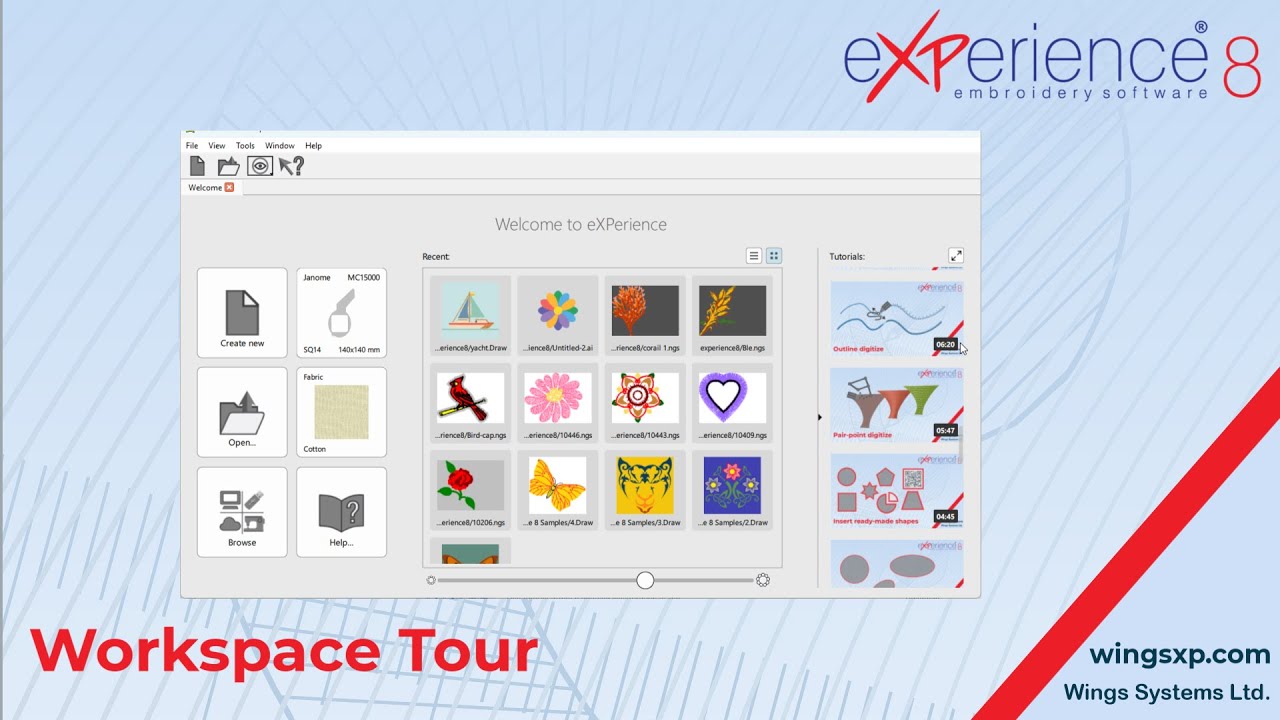
Step 1: Explore the Welcome Tab
- Action: Start by reviewing the Welcome tab, which is covered in the Quick Start video.
- Purpose: This tab provides an introduction to the software and initial setup options.
- Tip: Refer to the Quick Start video for detailed instructions before proceeding.
Step 2: Access Drop-Down Menus
- Action: Locate the drop-down menus at the top of the software window.
- Purpose: These menus provide access to most software options, including some functions exclusive to the menus.
- Tip: Explore each menu to understand the available commands and settings.
Step 3: Use the Standard Toolbar
- Action: Identify the toolbar at the top of the workspace.
- Functions: Includes basic tools such as:
- New Design
- Open Design
- Save
- Import File
- Undo/Redo
- Copy/Paste
- Fabric Selection
- Note: The toolbar is context-sensitive, meaning tools and options appear only when applicable.
Step 4: Understand Context-Sensitive Menus and Tools
- Action: Observe how menus and toolbar options change based on your selections.
- Example:
- Select an object (e.g., a sail or ellipse) to reveal the “Convert” button.
- If nothing is selected, the “Convert” button remains hidden.
- Selecting a sail shows only the “Convert to Stitches” option.
- Selecting an ellipse adds the “Convert to Curves” option.
- Tip: Experiment with selecting different objects to see which options become available.
Step 5: Navigate the Left Toolbar
- Action: Explore the toolbar on the left side of the workspace.
- Tools Available:
- Selection Tools
- Edit Shape
- Edit Stitches
- Edit Cross Stitch
- Zoom Tools
- Measure
- Stitch Flow
- Slow Redraw
- Digitize Tools
- Insert Readymade Shapes
- Lettering Tools
- Array Tool
- Color Manager
- Machine/Hoop Selection
- Guideline Editor
- Note: Each tool activates a working mode that remains active until you select another tool or switch to the default selection mode.
- Example: Activate the Text tool to add multiple text objects until you switch tools.
Step 6: Manage Colors in the Design
- Action: Locate the color management area at the bottom right of the workspace.
- Tasks:
- Edit Colors: Right-click a color to modify it, then click “Apply” to confirm changes.
- Add Colors: Use the “+” sign to add new colors, select a color, and click “Add Color” to include it in the toolbar.
- Tip: Newly added colors are immediately available for use in your design.
Step 7: Use the Sequence Manager
- Action: Access the Sequence Manager to view and edit the embroidery sequence.
- Purpose: Provides a graphical representation of the sewing order and allows you to control the sequence of your design.
- Tip: Use this tool to optimize the embroidery process by rearranging the sequence as needed.
Step 8: Configure Stitch Types in the Properties Bar
- Action: Use the properties bar to set stitch types for objects.
- When Nothing is Selected:
- Choose a stitch type (e.g., Step or Satin Serial) for the next object you create.
- Example: Select “Step” to fill an ellipse with a step stitch, or “Satin Serial” to apply it to the outline only.
- When an Object is Selected:
- Modify the stitch type or properties of the selected object.
- Example: Change a sail to a piping stitch or a star outline to a satin serial stitch.
- Advanced Option: Create a satin part by adding pairs of nodes to an object.
Step 9: Understand Object Fill and Outline Properties
- Action: Note that objects can have either a fill or an outline, but not both.
- Example:
- If a filled object is selected and you apply an outline stitch type, the fill is removed, and the object becomes an outline.
- Tip: Plan your design to ensure the desired fill or outline effect is applied.
Step 10: Explore Additional Tools and Features
- Action: Continue experimenting with the tools mentioned in the left toolbar, such as zoom, measure, or digitize tools.
- Purpose: Each tool offers specific functionality to enhance your design process.
- Tip: Refer to separate video tutorials for in-depth guidance on individual tools.
Conclusion
By following these steps, you can effectively navigate the eXPerience 8 embroidery software workspace. Practice using the context-sensitive menus, toolbars, and managers to streamline your design process. For more detailed instructions on specific tools, check the dedicated videos in our knowledge base.
eXPerience Facebook Page
Happy crafting and don’t forget to share your creations with us in the
eXPerience Facebook Page!


