Digitizing Basics: How to Customize the Running Stitches, Properties and Styles – Lv. Pilot-Operator
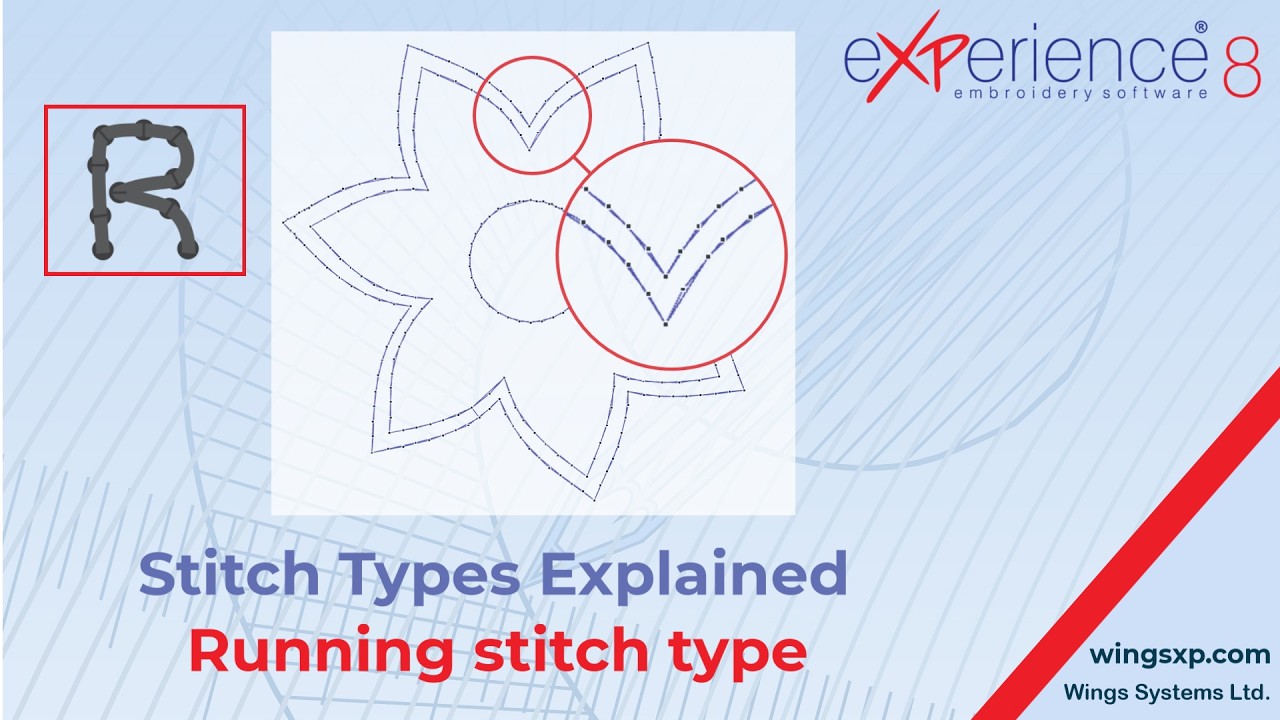
The Running stitch is one of the primary stitch types in your eXPerience 8 embroidery software. It consists of a single line of stitching that follows any digitized path, with needle penetration points placed at regular intervals. This stitch type is ideal for creating clean outlines and intricate decorative details.
Here is a step-by-step guide on how to apply and customize the Running stitch for your designs.
Applying the Running Stitch
There are two easy ways to apply a Running stitch to your design, depending on your workflow:
Method 1: Apply to an Existing Part
- Select the digitized part or object you want to modify on your workspace.
- Navigate to your stitch types menu and select Running. The object will automatically convert.
Method 2: Digitize a New Part
- Select the Running stitch type from your tool menu first.
- Click on your design area to digitize the new path or shape you want to create.
Customizing Running Stitch Properties
Once your Running stitch is applied, you can fine-tune its appearance using the properties panel.
Adjusting the Stitch Length The Length option defines the exact distance between each stitch penetration point.
- Locate the Length property in your settings panel.
- Type in your desired value.
- Press Enter to apply the change.
- Watch the design area to see the distance between the stitch points update instantly.
Useful Tip: To get a better view of how your length adjustments are affecting the design, make sure the View of the stitch points setting is enabled in your workspace.
Understanding Outline Width You will also see an outline width setting. By default, this is set to 0.4mm, which represents the actual physical width of standard embroidery thread. For basic digitizing at this level, you generally do not need to adjust this setting.
Managing Fixing and Locking Stitches
To ensure your embroidery doesn’t unravel, you need to manage how the machine starts and stops the stitch line. You can easily adjust these using the Fixing (start) and Locking (end) options.
Choose from the following settings:
- Auto (Default): The software intelligently decides if fixing or locking stitches are technically necessary based on the object type, stitch density, and overall sequence.
- Always: The software will inevitably add securing stitches at the start (fixing) or end (locking) of the object, regardless of the sequence.
- Never: No securing stitches will be added.
Useful Tip: Choosing “Never” forces a “soft start.” This is highly useful if the running stitch is immediately stitched over by another dense object, preventing a bulky buildup of thread underneath your design.
eXPerience Facebook Page
Happy crafting and don’t forget to share your creations with us in the
eXPerience Facebook Page!