Understanding the Piping Stitch Type in Embroidery Design – Level Pilot – Operator
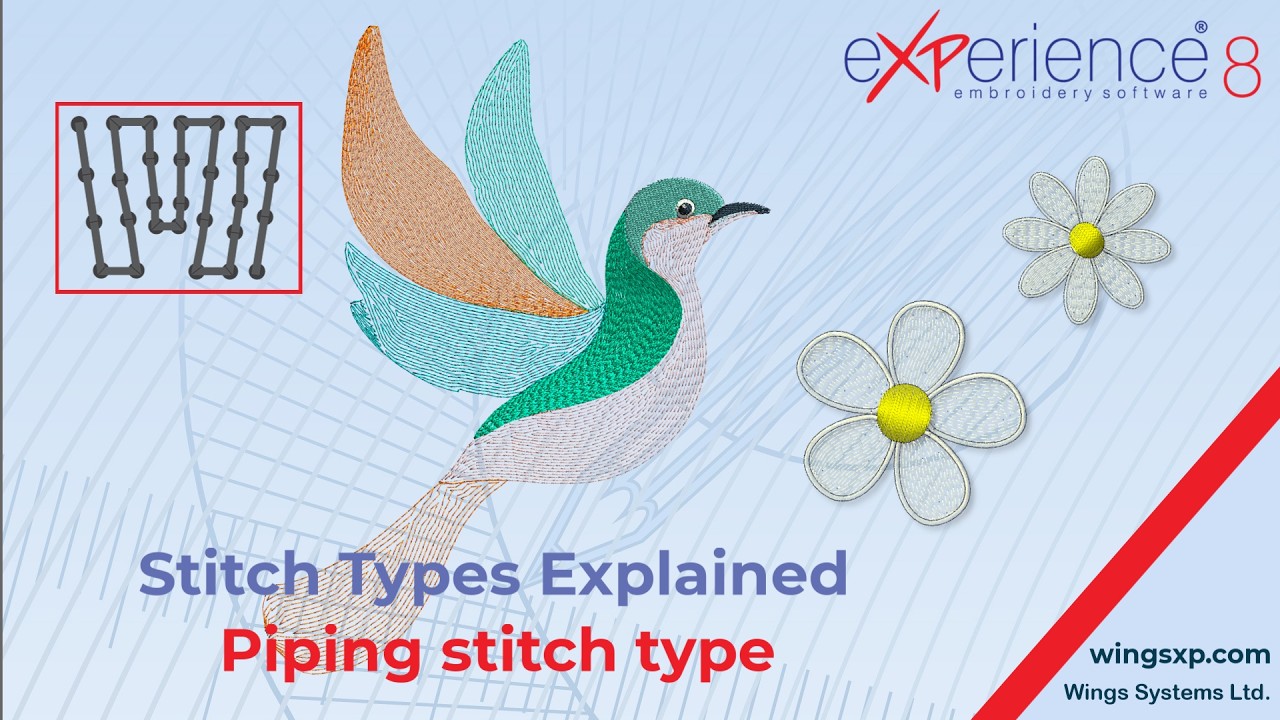
Piping is a specialized fill type in eXPerience 8 embroidery software. The software scans the shape of your object and generates inner contour lines, automatically adding shorter lines to wider areas to prevent excessive, bulky stitching in narrow sections. This creates a natural flow and lighter texture, making it perfect for organic or irregular shapes like petals and feathers.
Applying Piping to a Design
There are two ways to apply the Piping fill to your embroidery design.
Method 1: Apply to an Existing Object
- Select the digitized object you want to modify on your workspace.
- Open the Embroidery Properties panel.
- Choose Piping from the available stitch types.
Method 2: Draw a New Piping Object
- Open the Embroidery Properties panel.
- Select Piping as your active stitch type.
- Digitize a new custom shape or use a ready-made shape tool to draw directly on the workspace; the software will automatically fill it with Piping.
Customizing Piping Properties
Once your Piping stitch is applied, you can fine-tune the look and stitch behavior using the Embroidery Properties panel to match your project’s needs.
Useful Tip: By default, properties like Density and Length are dynamically linked to your chosen fabric profile. If you change the fabric type in your design settings, eXPerience 8 will automatically adjust these properties to ensure optimal stitchout quality.
1. Adjusting Density Density controls the distance between two consecutive stitch lines traveling in the same direction.
- Lower Density value: Results in tighter stitching and fuller, more opaque coverage.
- Higher Density value: Results in lighter, more open coverage.
Design Tip: Increasing the density value is an excellent way to create beautiful, light textures that highlight specific areas of your design while keeping the overall stitch count much lower.
2. Adjusting Stitch Length The Length option defines the distance between the needle penetration points along each contour row. Adjust this based on the scale of your object to ensure smooth curves.
3. Modifying the Flow To change the directional movement of the contour lines inside your shape, select the Stitch Flow tool and adjust the flow line guidelines within the object to dictate how the inner contours are drawn.
4. Managing Securing Stitches (Fixing and Locking) You can precisely control how the machine secures the thread at the beginning (Fixing) and end (Locking) of the Piping object.
- Auto (Default): The software intelligently determines if securing stitches are technically necessary based on the object type, stitch density, and overall stitch sequence.
- Always: Forces securing stitches to inevitably be added at the start or end of the object.
- Never: Prevents securing stitches from being added, forcing a soft start or finish.
eXPerience Facebook Page
Happy crafting and don’t forget to share your creations with us in the
eXPerience Facebook Page!