How to Group and Ungroup Objects in Embroidery Software – Level Operator
When working with complex embroidery designs that contain multiple parts, laying out and editing individual objects can quickly become difficult. The Group functionality in eXPerience 8 allows you to manage multiple sections of your design together, making it vastly easier to move, scale, rotate, and color-coordinate your workspace.

How to Group Objects Together
Grouping allows you to treat multiple design elements as a single unit without altering their underlying properties.
1.Select your design parts:
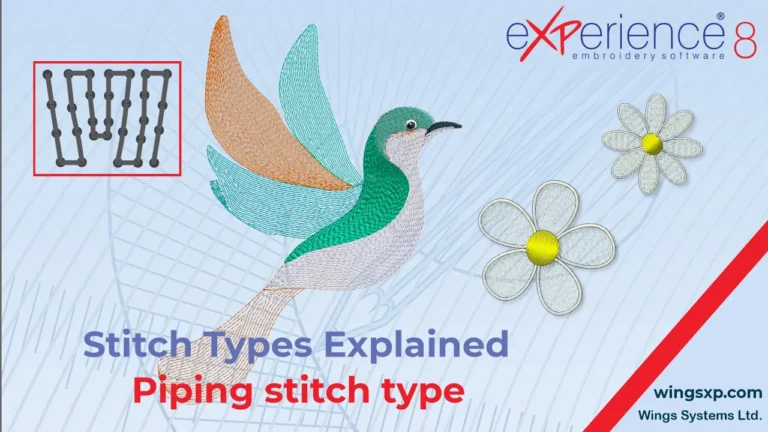
Highlight all the individual elements you want to combine. For example, if you are working on a bird design, select all the separate shapes that make up the bird.
2.Apply the Group command:
Right-click on your selection and choose Group from the context menu.
💡 Useful Tip — Keyboard Shortcut: For a faster workflow, select your items and press Ctrl + G on your keyboard to instantly group them.
💡 Useful Tip — Preserved Stitch Types: Even after grouping, the individual parts retain their original, multiple stitch types. They remain exactly as they were, just bundled together for easier handling.
Working with Grouped Objects
Once objects are grouped, clicking on any single part of the design will automatically select the entire group.
- Bulk Transformations: You can now move, scale, or rotate the entire group as one solid piece, ensuring perfect proportions are maintained.
- Bulk Color Changes: Grouping similar elements (like a cluster of leaves) allows you to apply a new thread color to the entire group in just one click.
Modifying Existing Groups
You aren’t locked into a group once it’s made. You can easily add new objects or combine multiple groups together.
Adding Objects to an Existing Group
If you created a group but missed a piece, or want to add a new design element to it:
1.Select all components:
Highlight both the new individual object(s) and your existing group at the same time.
2.Regroup the selection:
Right-click and select Group (or press Ctrl + G) to absorb the new items into the group.
Nesting Multiple Groups Together
You can group multiple existing groups to create larger layout blocks.
1.Select your target groups:
Highlight the different groups you want to combine (e.g., Group A and Group B).
2.Align the groups:Recommended for clean layouts.
Before combining them, use your alignment tools (such as Center horizontally) to ensure the groups are perfectly positioned relative to one another.
3.Form the master group:
Group the selection together. They now form a single, nested “master group.”
How to Ungroup Objects
At any point in your designing process, you can separate a group back into its original, individual parts to make fine-tuned adjustments.
1.Select the target group:
Click on the group you wish to break apart.
2.Apply the Ungroup command:
Right-click and select the Separate or Ungroup option.
💡 Useful Tip — Ungrouping Nested Groups: If your selected group consists of other subgroups (nested groups), using the separate command will break the master group down into its subgroups first. You can then select those subgroups and ungroup them again to get back to the base individual items.
eXPerience Facebook Page
Happy crafting and don’t forget to share your creations with us in the
eXPerience Facebook Page!