How to Group and Manage Design Objects in Embroidery Software – Level Operator
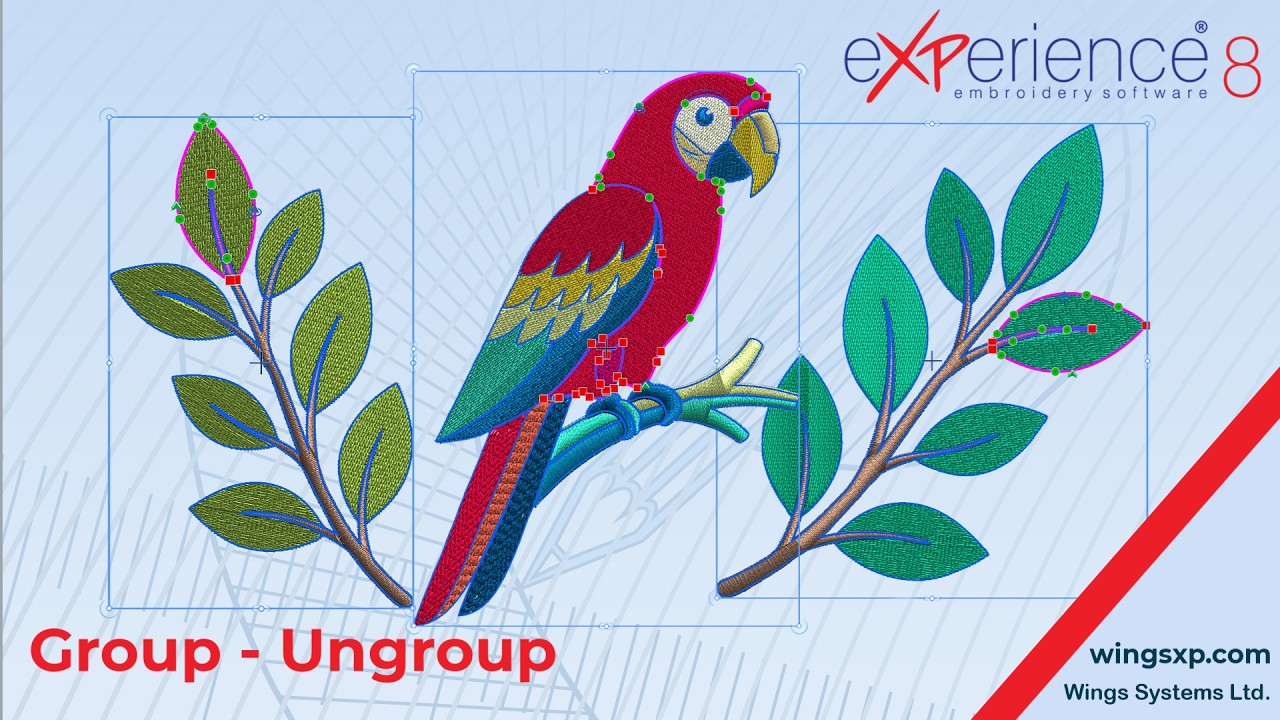
Organizing complex embroidery designs into groups streamlines your layout workflow, allowing you to reposition, transform, and modify multi-part design elements together without altering individual stitch parameters.
Step 1: Grouping Design Elements
- Select all individual objects or parts you want to combine (click and drag a selection box or hold
Shift/Ctrlwhile clicking each element). - Right-click the selected objects and select Group, or press the keyboard shortcut Ctrl + G.
Tip: Grouping does not merge stitch types into a single object. Each part retains its original stitch types and properties intact.
Step 2: Transforming and Editing Grouped Objects
Once grouped, clicking any individual element will automatically select the entire group:
- Move, Scale, and Rotate: Transform the entire group uniformly on the workspace without leaving individual pieces behind.
- Bulk Color Adjustments: Select the group and choose a color swatch from the palette to apply a new color across all parts in the group simultaneously.
Step 3: Adding Elements and Creating Nested Groups
eXPerience 8 supports multi-level, nested grouping hierarchies:
- Add Objects to an Existing Group: Select the existing group along with the new object(s), then right-click and choose Group (or press Ctrl + G).
- Nest Multiple Groups: Select two or more distinct groups together and use the Group command to unite them into a top-level parent group.
Step 4: Ungrouping and Separating Objects
To edit individual objects within a group:
- Click on the group to select it.
- Right-click and choose Ungroup (or Separate).
- If the selection contains nested groups, the top-level parent group will separate into its individual sub-groups first.
- Select any sub-group and choose Ungroup again to access the base individual objects.
Best Practices for Working with Groups
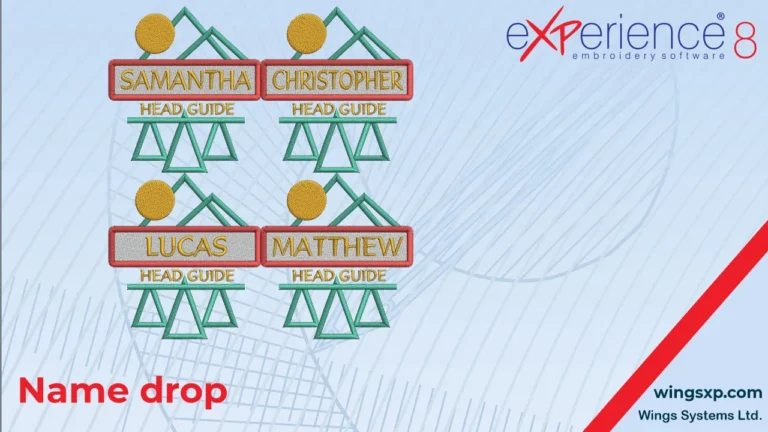
- Layer by Subject: Group distinct sections of a design (e.g., characters, leaves, text banners) early to prevent accidental element shifting during final composition.
- Shortcut Workflow: Use Ctrl + G regularly while drafting to quickly bundle adjacent shapes before moving to the next section.
- Check Stitch Order: Ensure each component’s stitch order is arranged properly before grouping to maintain clean thread trims and underlay execution.
eXPerience Facebook Page
Happy crafting and don’t forget to share your creations with us in the
eXPerience Facebook Page!